Scribe-Mate Jigs have one simple and important function.

  • They clamp your filler panels firmly in position.
  • They accommodate any thickness of carcass, with or without pre-drilled hinge holes.
Buy now only £64.95 incl free delivery
Only £64.95 including VAT & deliveryHolds fillers firmly in position • Frees both hands for marking •Less measuring • Less adjustment • More time saved •Designed and made in the UK • UK Patented • UK Design Registered •Built for repeated professional use •
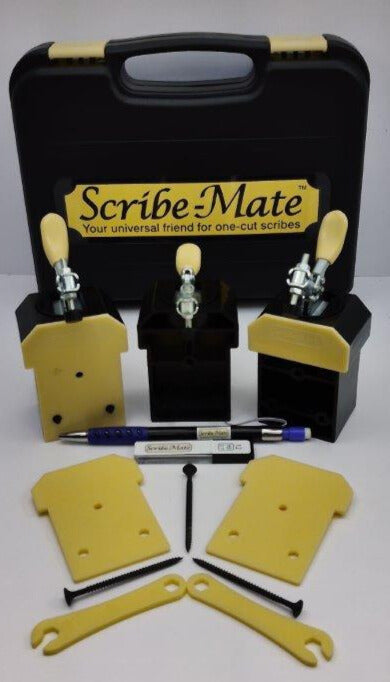
Scribe-Mate jig set and accessories for accurate filler-panel scribing

You're already the expert.

Fit filler panels faster. Save valuable fitting time.

We're not here to tell tradespeople how to draw lines on filler panels. Scribe-Mate simply helps you do the job quicker and easier.

  • Accommodates any thickness of carcass and filler panel (one tool fits all)
  • Multiple locations for all carcasses, with or without pre-drilled hinge holes
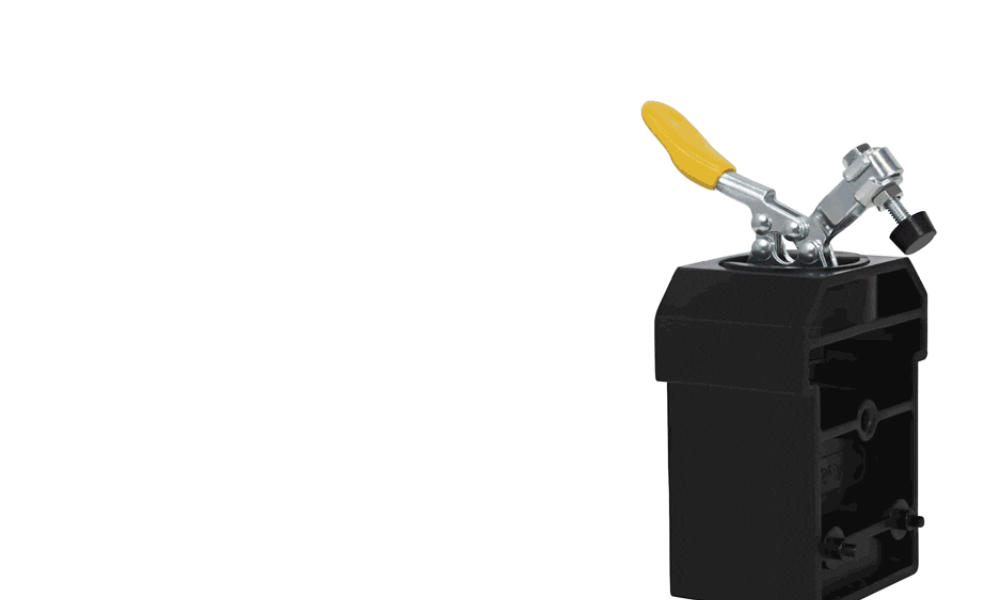
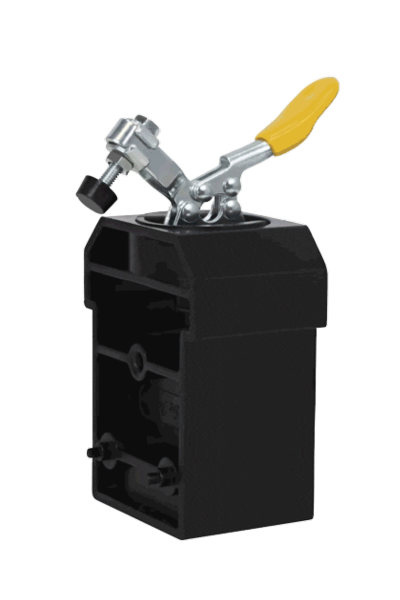
  • 360 degrees revolving clamp
  • Easy to use
  • Enables you to draw accurate cutting line every time
  • Designed and built to last a lifetime
Buy now only £64.95 incl free delivery

User Guide

There are a number of useful ways the Scribe-Mate tool can help you achieve a perfect scribe line on a fillet first time, every time.

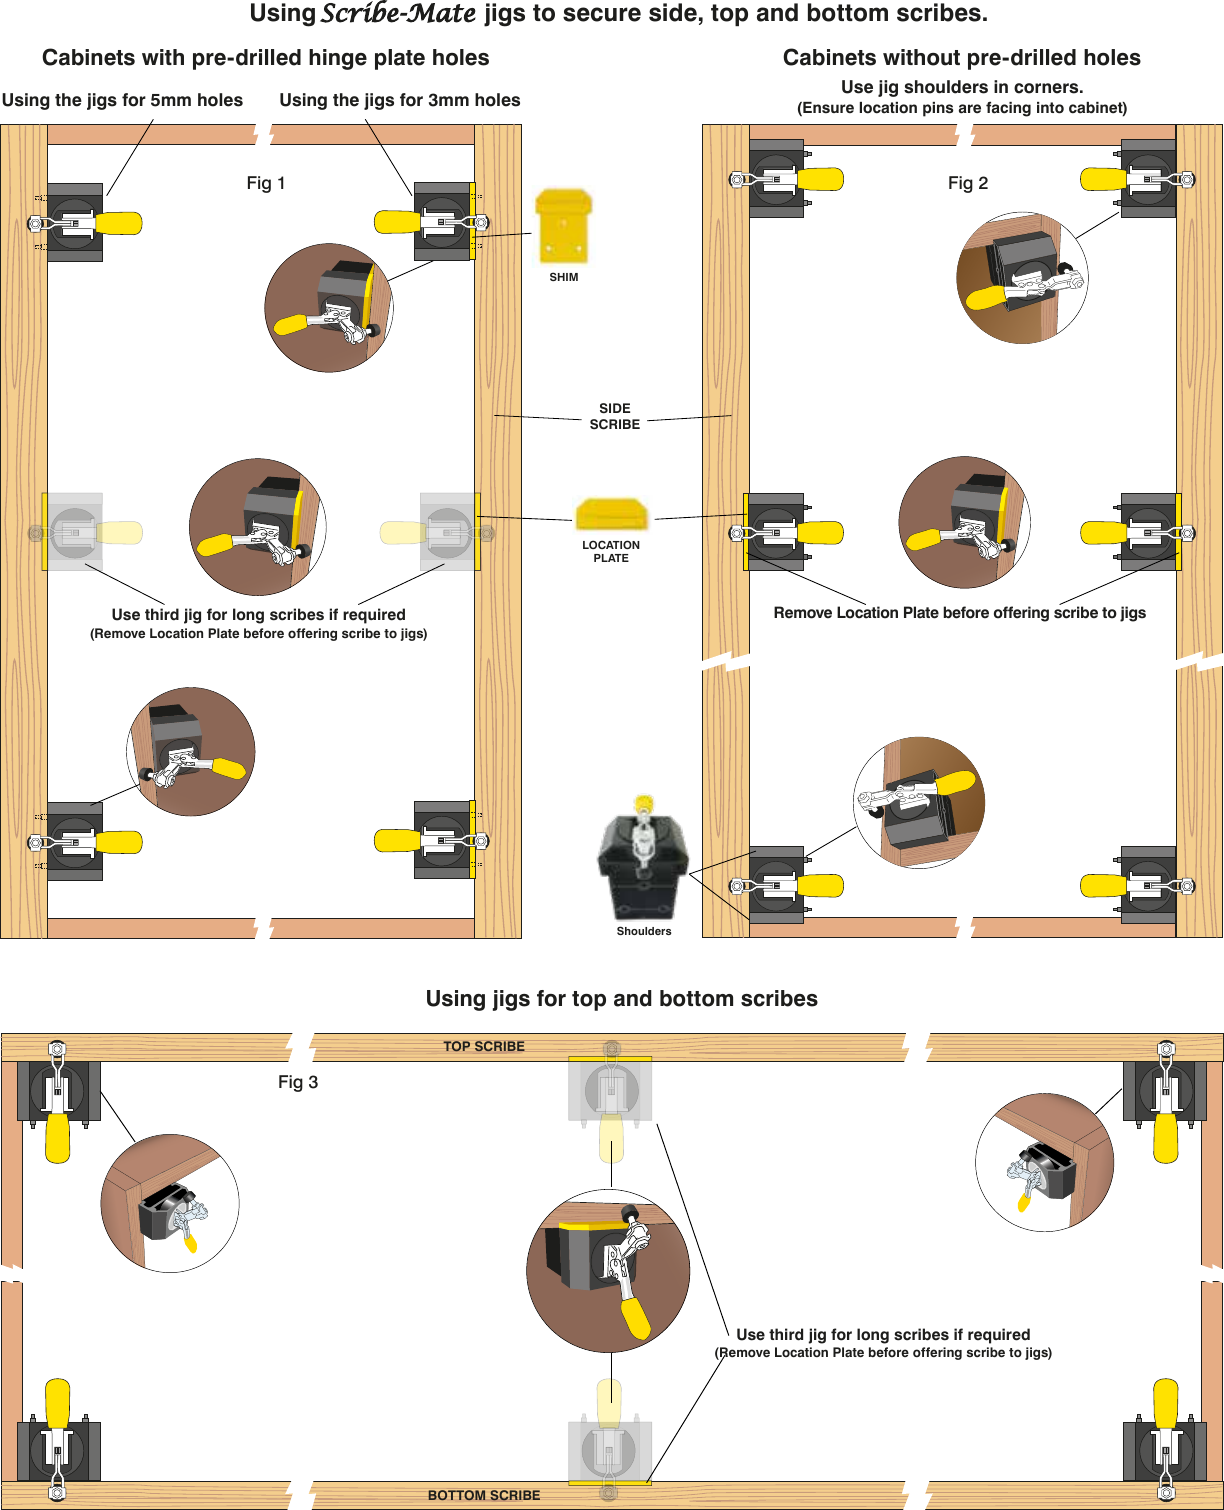
Fig. 1 Fig. 1 - Scribe-Mate jig using pre-drilled hinge plate holes

Using pre-drilled holes

First, establish the size of the pre-drilled hinge plate holes in the cabinet. They are usually 5mm or 3mm. The scribe jigs have two location pins which are stepped from 5mm to 3mm. If the holes are 5mm diameter, use the jigs as they are. Locate the jigs into the holes and secure using the bugle head screws provided. Do not over tighten. Place the prepared fillet into the jigs ensuring the clean edge is tight to the jig and secure with the clamps. Scribe your line and cut to the line. You will discover your fillet will fit neatly first time and the need for caulking is minimal - if at all.

If the hinge plate holes are 3mm diameter, attach a shim over the location pins and proceed as above.

Fig. 2 Fig. 2 - Scribe-Mate jig showing the cabinet-corner shoulders

Shoulders

The shoulders on the jig are designed to locate in the corners of cabinets to enable you to mark and fit side fillets, top fillets and plinths.

Ensure the location pins on the scribe jig are facing into the cabinet. Position the jigs to suit the scribe. Secure the jig as described above and follow the procedure.

For long scribes you may need to introduce a third jig to secure the centre of the fillet. Fit a location plate onto the jig and secure the jig in a position of your choice. Remove the location plate from the jig before setting, securing and marking the fillet. See Fig. 3 below.

Fig. 3 Fig. 3 - Scribe-Mate jig with location plate

Using a third jig

Fit a location plate onto the scribe jig opposite the location pins. Place the jig in the selected position and secure it to the cabinet. It is vital you remove the location plate from the jig before attaching the fillet, or you will mark and cut the fillet 3mm too narrow.

Fig. 4 Fig. 4 - cabinet step between side and top panels

Overcoming the Step Problem

It is not uncommon for a small step to be between the sides and the top or bottom panels of cabinets. To overcome the problem:

  1. Establish the size of the step.
  2. Select shims of identical thickness.
  3. Place a shim between each jig and the fillet.
  4. Mark the scribe line and cut.

Please see the Location, Location, Location diagram below.

Please Note: In all cases the screw holes created when securing the scribe jigs to cabinets are perfectly positioned to secure your fillets for final fix. The screw heads will be concealed by hinge plates (where applicable) or, if in the open, you may choose to fit screw caps.

The holes created by the jig fixing screws are 10mm from the front edge of cabinets, which ideally places them to use for fixing your filler panel (or batten if you prefer to align panels to doors). Often the screw heads are concealed behind the hinges.

N.B. Only use the bugle-head screws provided (or equivalent) when fixing Scribe-Mate jigs to cabinets.

Location, Location, Location

Scribe-Mate scribing jig holding a kitchen filler panel in position

Scribe-Mate is a revolutionary jig, designed to help tradespeople and DIY enthusiasts by making the task of fitting filler panels easier and quicker.

Whether you’re fitting kitchens, cabinets or wardrobes, the Scribe-Mate jigs enable you to mark precise scribe lines every time.

Only £64.95

Key Features:

  • Accommodates any thickness of carcass and filler panel (one tool fits all)
  • Multiple locations for all carcasses, with or without pre-drilled hinge holes
  • 360 degrees revolving clamp
  • Easy to use
  • Enables you to draw accurate cutting line every time
  • Designed and built to last a lifetime

Designed by tradespeople, for tradespeople

Scribe-Mate was developed to solve a simple problem: holding filler panels securely while you work.

  • Frees both hands for marking
  • Adjustable for panels up to 25mm
  • 360° rotating clamps
  • Three-jig system for longer fillers
  • Built for repeated professional use
  • UK Patented
  • UK Design Registered
One Scribe-Mate system in multiple positions

One system. Multiple positions.

Scribe-Mate's versatile jig system can be used for side fillers, top fillers, bottom fillers, tall fillers and long scribes.

The adjustable clamps accommodate filler panels up to 25mm thick, giving you one versatile system for a wide range of installations.

Save time on your next installation.

See what a difference Scribe-Mate can make.

Designed by tradespeople. Made for tradespeople.

Buy Scribe-Mate

04

From the blog