Buy your weekday smoothies and get your weekend ones for free. (7 for the price of 5!)
WELLNESSWEEK

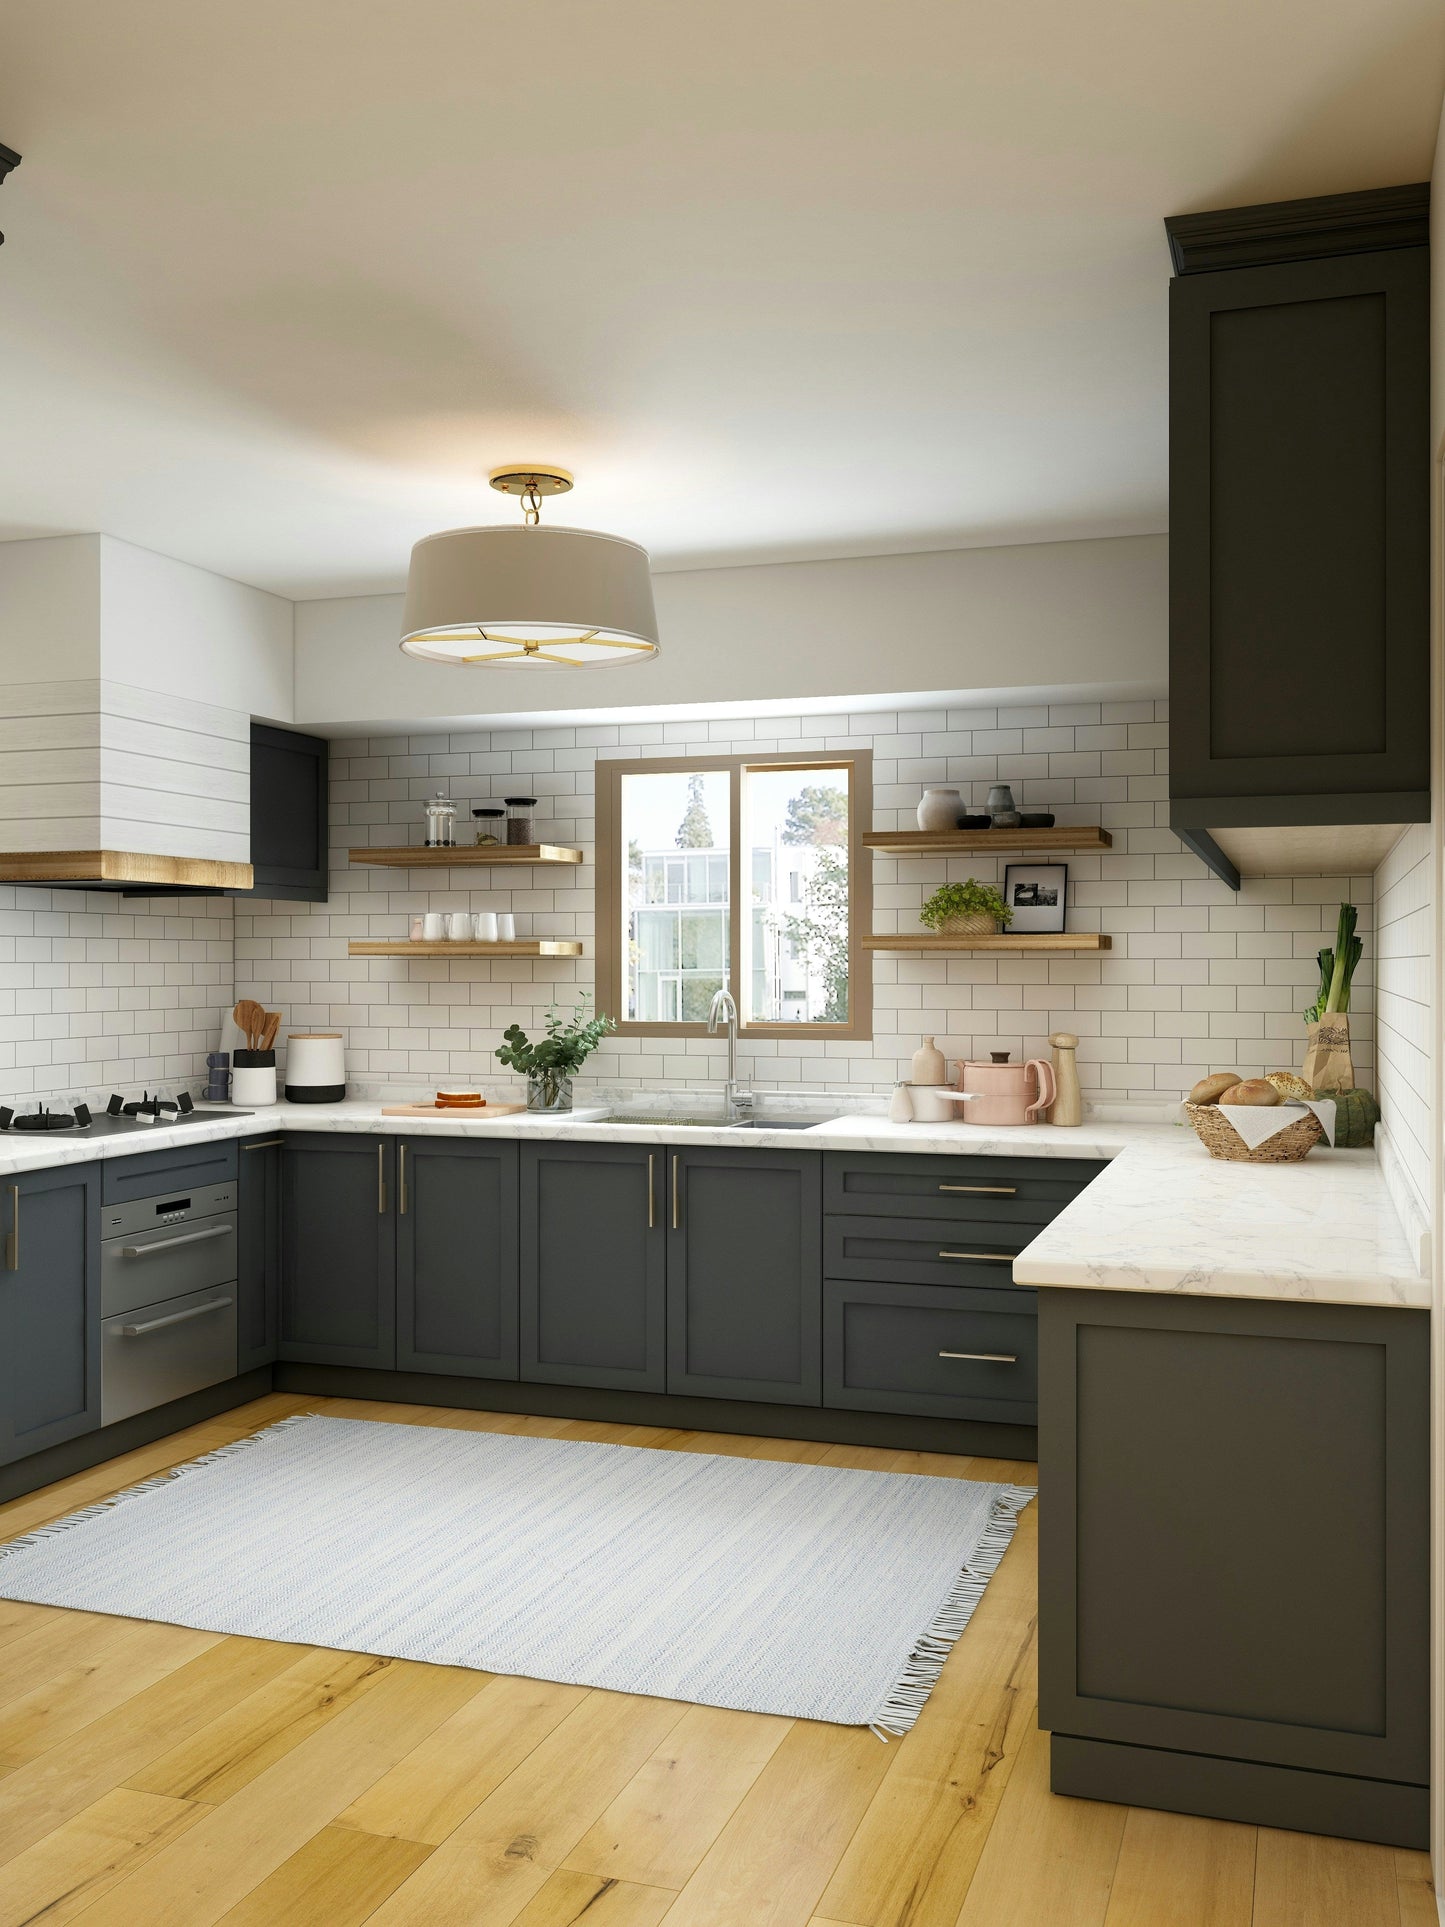
When you’re fitting cabinets or carcasses, nothing undermines the final look like a visible gap. Walls are rarely perfectly straight, and without careful scribing, you can end up with uneven panels, wasted materials, and a finish that looks rushed.
Scribing is the art of transferring the shape of a wall or surface onto the material you’re fitting so that it sits flush. Done well, it makes the difference between “that’ll do” and “professional standard”. In this guide, we’ll show you how to scribe cabinets properly – and how the right scribing tool can take the stress out of the process.
At its simplest, scribing is about marking one surface so that it mirrors the irregularities of another. Imagine a kitchen unit against a bumpy plaster wall. If you cut the panel straight, you’ll be left with gaps. By scribing, you trace the wall’s outline onto the cabinet panel, then cut along that line so it fits perfectly.
Traditionally, tradespeople have used compasses, blocks of wood, or freehand pencil markings to achieve this. While it can work, it often involves a lot of trial and error – plus extra trimming. That’s why dedicated cabinet scribe tools have become so essential.
A reliable scribing tool (such as Scribe Mate)
A sharp pencil or mechanical pencil
A steady workbench or stable support for the cabinet panel
A saw suitable for your material (jigsaw for curves, circular or hand saw for straight cuts)
Sandpaper for final smoothing
1. Position the Cabinet or Panel
Set the cabinet panel in place against the wall where it will sit. Make sure it’s level and properly aligned.
2. Set Your Scribing Tool
Adjust your scribing jig to the depth of the largest gap between the wall and the panel. Lock it in place so the line will stay consistent.
3. Mark the Line
Glide the tool along the contour of the wall, letting the pencil trace a parallel line onto the cabinet panel. This line now represents the exact shape of the wall.
4. Cut Along the Line
Using your saw, carefully cut along the pencil mark. Take your time – accuracy here saves time later.
5. Test the Fit
Place the cabinet panel back against the wall. If the scribe was done correctly, it should sit flush with no visible gaps. Sand lightly if needed to refine the edge.
Many DIYers attempt to scribe with makeshift tools, only to discover that slight movements or uneven markings throw the whole cut off. The result? More trimming, more frustration, and sometimes an entirely wasted board.
This is where a dedicated woodworking scribe tool pays for itself. Tools like Scribe Mate are designed to eliminate flex and movement. Once clamped, the jig holds firm, producing a clean, repeatable line that matches the wall exactly. For professionals, this means less time on site. For DIYers, it means results that look every bit as polished as a tradesperson’s work.
Rushing the setup: If your tool isn’t locked in properly, the line won’t be true.
Cutting outside the line: Always cut to the line, not away from it.
Forgetting to test fit: A quick check before fixing the panel saves headaches later.
Using blunt pencils: A sharp, fine line makes for more accurate cuts.
If you want to avoid wasted boards and endless trimming, try working with a jig built for the task. Scribe Mate has been designed by tradespeople, patented in the UK, and trusted for its accuracy and durability. Once you’ve used it, you’ll wonder how you managed without.
Join our newsletter below and we will email you your discount code.